With everyone spending most time inside the home, many are eyeing to build a personal gaming PC. You need not worry if your budget is tight, Here's how to build a gaming pc for mid-range gaming.
For this build, we at ItechPost decided to go with AMD's 3rd Generation Ryzen processor to stay within our $1,000 budget. We're going with Ryzen 5 3600 paired with 16GB (8GB x 2) of LPX DDR4-3200 RAM and AMD's Radeon RX 5700 XT.
Our gaming PC's brain
We've chosen AMD's Ryzen 5 3600 as it offers the sweet spot for mid-range gaming at 1080p and 1440p. It comes unlocked out of the box, meaning you can overclock it to get every bit of extra juice it has.
MSI's B450 Gaming Plus is the motherboard of our choice for this build. It's one of the reliable motherboards for the AM4 platform. It may not have all the bells and whistles like those of Asus' ROG boards, but it gets the job done. It supports SLI or Crossfire if you'd go the route of using dual graphics cards, and it's quite future proof since it has an M.2 slot for rapid SSDs.
The muscle of our gaming PC
At around $400 to $450, we've decided to go with AMD's own Radeon RX 5700 XT. It's cheaper than Nvidia's 2060 Super, and since we're pushing for 60fps for 1080p gaming, this card can surely do the job. Though the 5700 XT doesn't support ray tracing and DLSS, its 8GB GDDR6 memory with 2,560 GPU Cores guarantees there won't be any screen tearing and other hiccups so long as we don't try 4K gaming at 60fps.
RAM, storage, case, and power supply unit
In this day of more is less, we went with an 8GB x 2 RAM configuration using Corsair's Vengeance LPX 16GB DDR4-3200 kit. We could've gone with cheaper options like those that don't have heat spreaders, but at an added cost of no more than $20, it's a small price to pay for better performance. Though there aren't any sweet RGB effects for you RGB boys out there, this kit offers low latency from a $70 price point.
Previous generations of SSDs didn't quite offer much in terms of storage, but nowadays, it's common to see SSDs boasting up to 512GB of flash memory. Nimbus even has 50TB and 100TB SSDs, albeit at a price that burns a hole in your pocket. We've checked, and for this build, Addlink's S70 512GB NVMe SSD, at around $140, offers the best price to performance ratio.
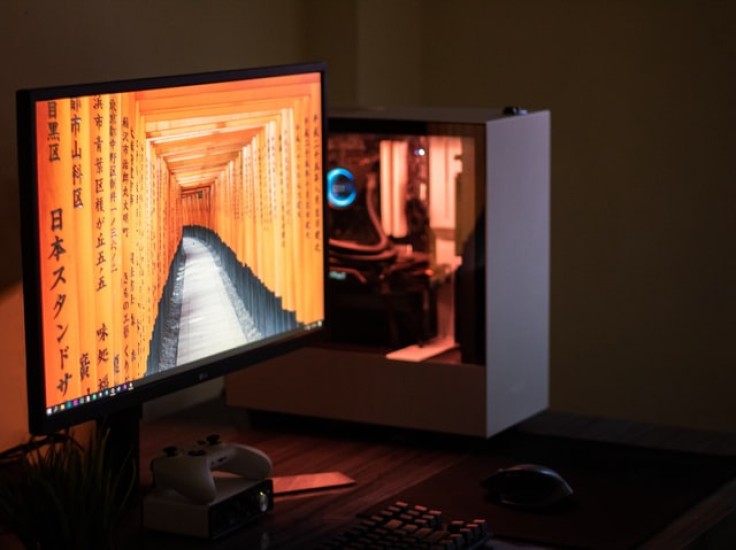
We'll be going with NZXT's H510 for our case. It's (gorgeously) white, offers good cable management options, and at just under $70, already supports up to 140mm (2) fans at the front. If you've got the extra budget, this case goes well with dual fan AIO liquid coolers. It has a tempered glass side panel on one side and has room for unused power supply headers just right beside where you'd place the PSU. It comes in black or white, but personally, white makes it much more beautiful.
To make sure our parts get enough power running through them, we chose Corsair's 650-Watt TX650M. It has the standard 24-Pin ATX and 8-Pin EPS12V connectors, along with other standard headers. Reasonably priced at less than $200, it is also semi-modular, so you don't need to stash all the unused cables behind your case.


