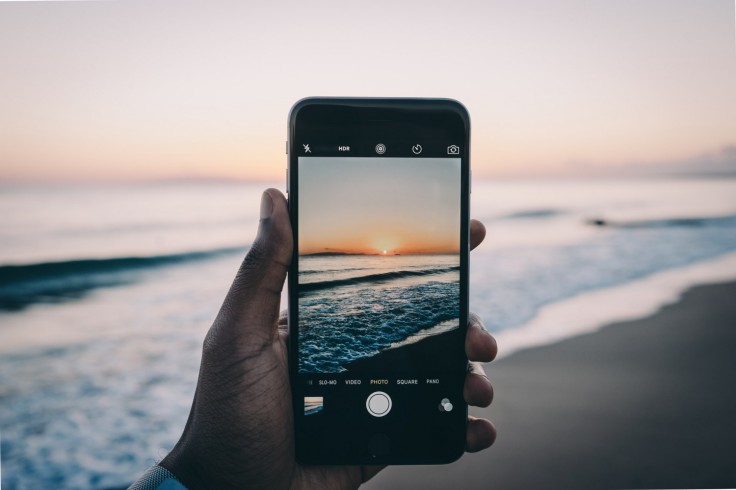
A person's phone gallery can hold so many things. It can contain precious memories, photos of important documents, favourite memes, and the occasional video recording. It's only natural to want to protect these snippets of your life or your important documents from being tampered with or viewed by people you're not comfortable with.
Unfortunately, Apple doesn't provide iOS device users with an app or feature that lets them lock or protect their gallery from prying eyes. And no, the "Hidden Photos" folder on the Photos app is not the way to do it, as other people can still find it if they know what they're looking for.
Here are a couple of ways to protect your photos from being accessed by people other than you.
Use the 'Notes' App
Surprisingly, Apple's built-in app, Notes, provides a decent workaround to the problem of password protecting specific images.
According to How-To Geek, you have to open the Notes App and tap the New Note icon and give it an inconspicuous title to start.After which, tap the photo icon (the one that looks like a camera) on the toolbar and tap "Choose Photo or Video" to add the photos you want to the note. After which, just choose the photos or videos you want to add from your gallery and tap "Add."
Once those photos or videos you chose appear on the note, tap on the Ellipsis icon (the three dots) found on the upper-right portion of the screen. A list of options would appear after doing so. One of these options is "Lock" - the one we're looking for.
Tapping the "Lock" option will make a window appear asking you to set a password to lock it. After entering the password of your choice, tap "OK."
The password you made will also be used for other notes you choose to password-protect, so remember it.
You can also use your Touch or Face ID if the iOS device you're using has the tech needed.
Once finished, tap on "Done" to finish setting up your password. The new note you made can now be locked or unlocked at will. However, you have to manually "lock" the note after setting up your password to lock it for real. Tapping on the lock icon will do it for you.
After that's done, delete the photos you added to the now-locked note from the Photos app.
Congratulations. You just protected your photos from prying eyes without using a third-party app.
Read also: iPhone Security: How to Protect Your Children From Getting Inappropriate Photos on Messages App
Locking up the Photos App with 'Screen Time'
Using an iOS' Notes app isn't the only thing you can do to protect photos and videos.
Another workaround is using Screentime's ability to passcode lock an app, according to a MacRumors article.
To start, go to settings and tap on "Screentime." The screen would then display the daily average of your iOS device's time when it is active. You will also find the "App Limits" item, which is the one you should tap to continue the locking process.
Before doing so, make sure your Screen Time is enabled and you have set a Screen Time password by tapping the "Use Screen Time Password" option.
Next, tap on App Limits and tap on the "Add Limit" option. Doing so will have the screen display several categories with which your iOS device's app are classified. Tapping on "Creativity" will show you all the apps classified under the Creativity category. This is where you'll find the Photos app.
Selecting the Photos app will let you choose how long the app can be opened and the option of blocking access to the app after the time limit you set. At this point, choose 1 minute and toggle "Block at End of Limit" and exit the Screen Time interface.
Doing this process will lock the Photo app after 1 minute of access with the password you set for Screen Time. To continue accessing the app after the time limit, you have to enter your Screen Time password.


